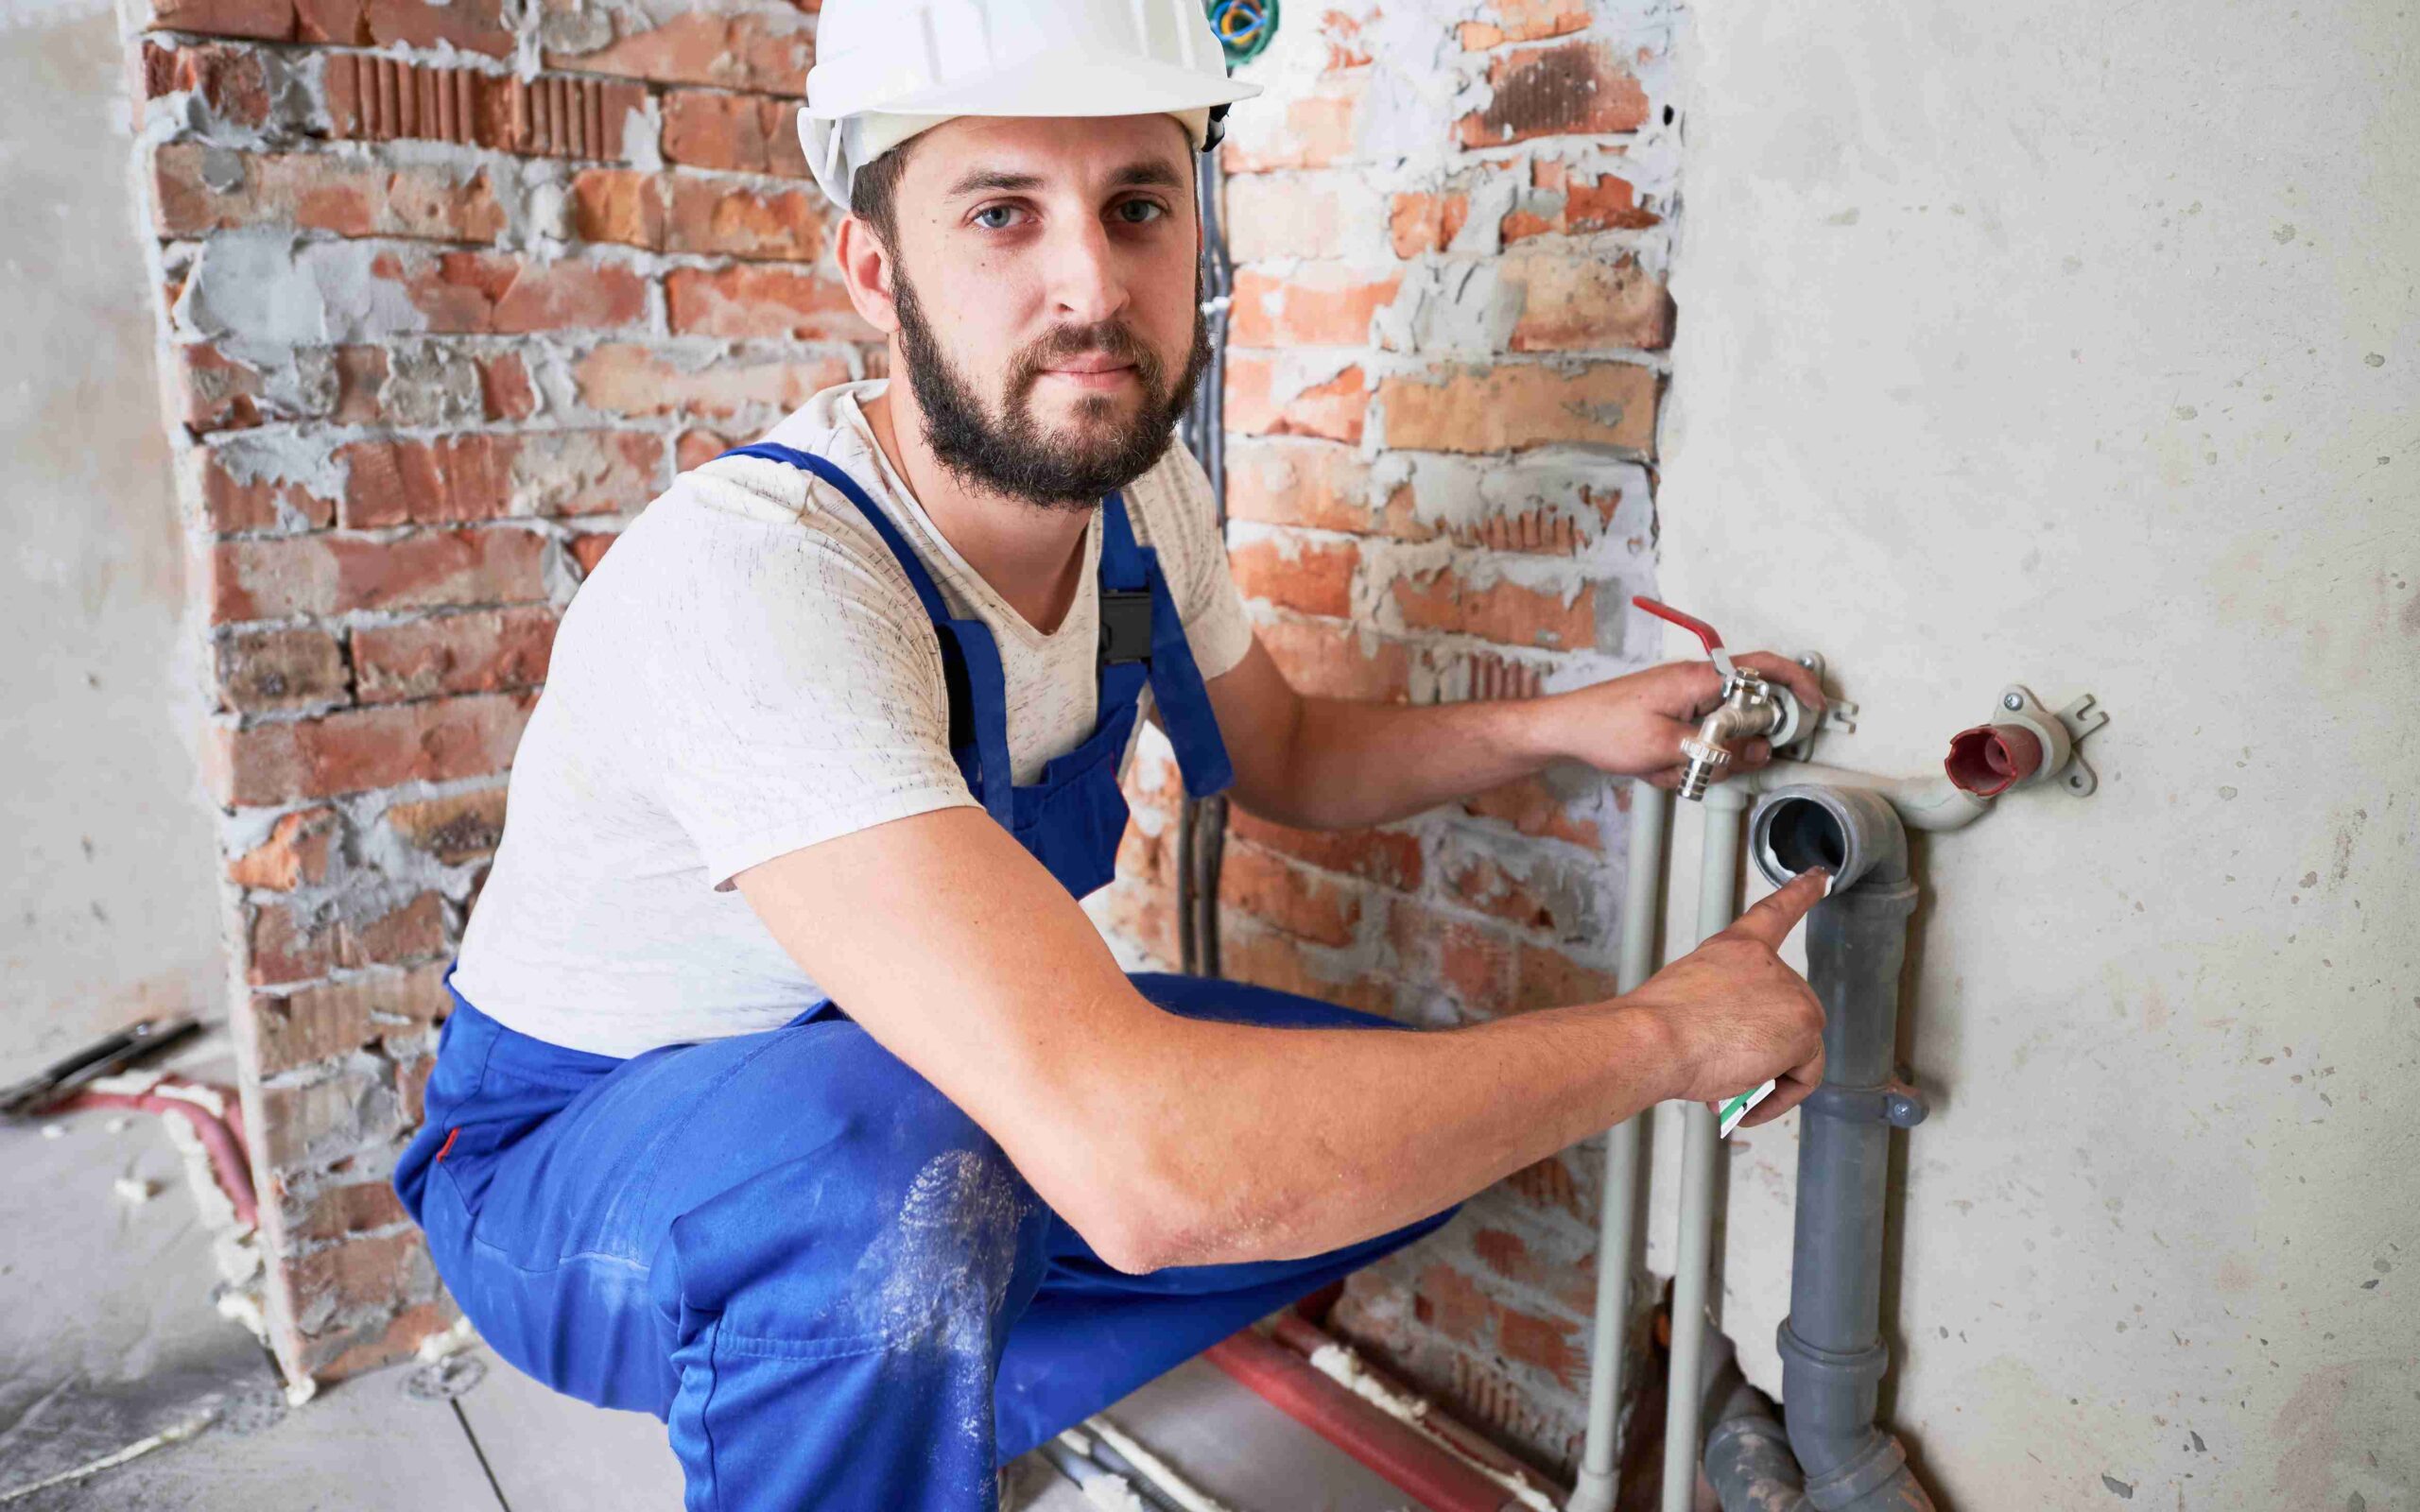
How Much Does A Leaky Faucet Repair Cost In Virginia?
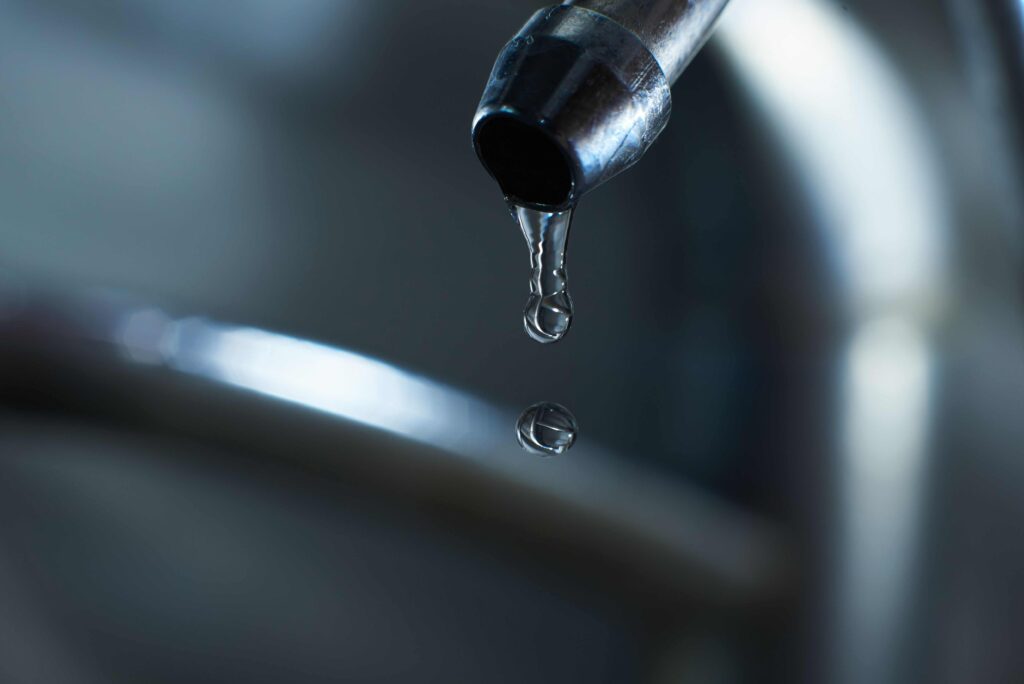
A leaky faucet might seem like a small issue, but it can be surprisingly annoying.
The constant drip, drip, drip can drive anyone crazy. Plus, it’s wasting water, and if it goes unchecked, it can add up over time.
So, if you’re dealing with this problem and wondering how much it’s going to cost to fix it, you’re in the right place.
In this post, we’ll breakdown how much a leaky faucet repair cost, and the factors that affect your final bill. Plus, we’ll also give you a quick rundown of our Virginia prices.
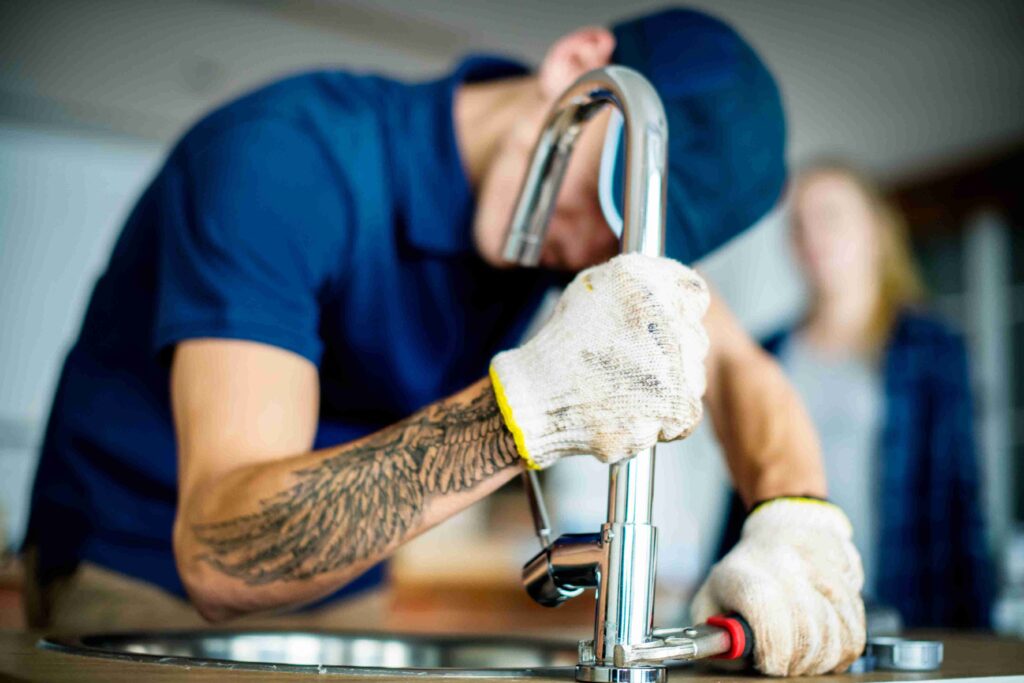
Our Leaky Faucet Repair Prices
Our faucet repair prices usually run between $300 and $500.
In some cases, it makes more sense to replace the faucet altogether, and that’s something we’ll help you decide when we look at the problem.
Here’s what’s included in that price:
- Inspection of the faucet to see if it’s worth repairing or replacing
- Labor for rebuilding, including removing and reinstalling cartridges if needed
- Replacement cartridges if a repair is the best option
- Installation of a new faucet if replacement is chosen (faucet cost itself varies by brand and style)
Check Out Our: Richmond Leaky Faucet Repair Services
How Much Does It Cost To Repair A Leaky Faucet?
On average, most leaky faucet repairs in Virginia will run between $75 and $200.
If it’s just a quick fix, like replacing a washer or O-ring, you might get away with closer to $75 – $150. If the problem is deeper (say a cartridge replacement or corroded parts) the bill could land more in the $200 – $300 range.
And if the faucet is old and needs to be swapped out entirely, you might be looking at $300 or more once you factor in both parts and labor.
Here’s a quick breakdown so you can see how it usually plays out:
- Simple washer/O-ring replacement – $75 – $150
- Cartridge replacement or valve repair – $150 – $250
- Full faucet replacement – $200 – $400+
The good news is, in most cases, fixing a leaky faucet is not a huge, budget-breaking project.
Still, the final number can swing based on a few important details.
What Affects The Cost Of Leaky Faucet Repairs?
Some repairs are quick and cheap, others take more skill, more parts, and more time. Let’s look at the main things that determine how much you’ll end up paying:
#1 Type Of Faucet
First off, the type of faucet you have makes a big difference.
There are different kinds of faucets, and each one has its own repair needs.
A standard single-handle bathroom faucet is usually a quick fix, but something more complex like a pull-down kitchen faucet or a fancy designer fixture can take longer to repair.
Faucets with extra features (like touchless or motion-activated models) tend to have specialized parts, and those parts aren’t always cheap or easy to find.
The simpler the faucet, the cheaper the fix.
If you’ve got a high-end faucet with lots of extra parts, expect the repair bill to be on the higher side.
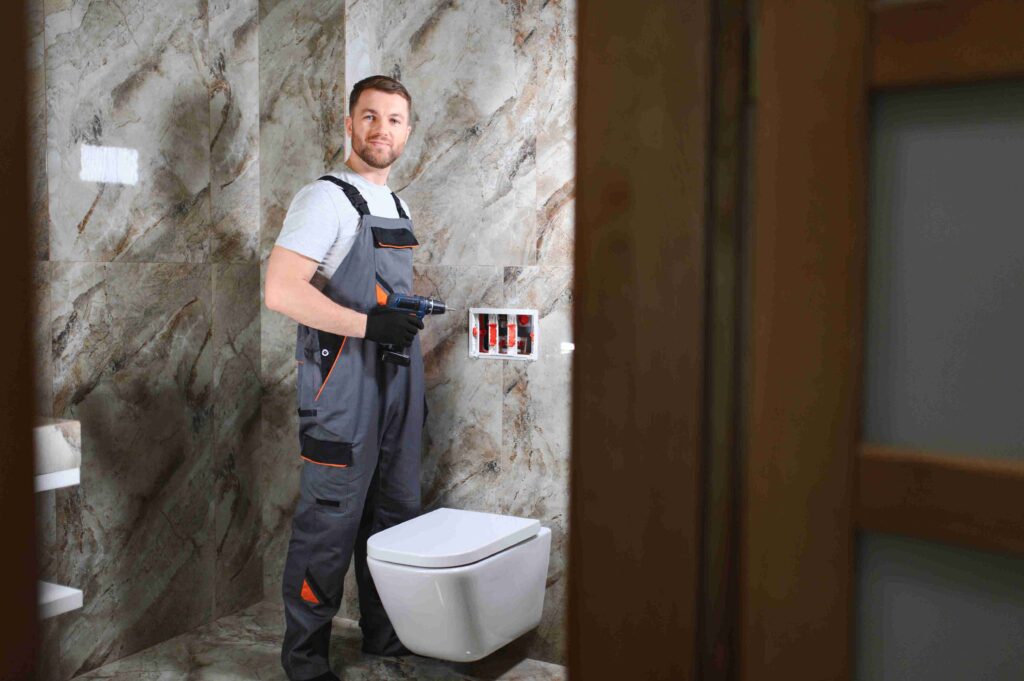
Also Read: How Much Does It Cost To Install A Toilet?
#2 What Is Causing The Leak
Next, it’s important to figure out what’s causing the leak in the first place.
Sometimes it’s something as simple as a worn-out washer or seal. In those cases, the fix is relatively easy and inexpensive.
But other times, the leak might be coming from deeper inside the faucet or even the plumbing. For example, if the leak is caused by a corroded valve seat or a broken pipe, the repair will be more time-consuming. That means it will cost more too.
The plumber may need to disassemble the faucet, replace worn parts, clean out sediment, or deal with corrosion.
Basically the more complex the cause of the leak, the higher the price.
#3 Parts
The type and cost of replacement parts will also affect the final repair price.
Basic washers and O-rings can cost only a few dollars, but more complex parts, like cartridges or valve seats, might cost more.
Some faucets require brand-specific parts, which can also increase the leaky faucet repair costs, especially if the faucet is an older or discontinued model.
In some cases, the plumber may even suggest replacing the entire faucet if parts are hard to come by or if it’s too old and inefficient. While this is a more expensive option upfront, it might save you money in the long run if your faucet is constantly needing repairs.
Also Read: Shower Randomly Drips
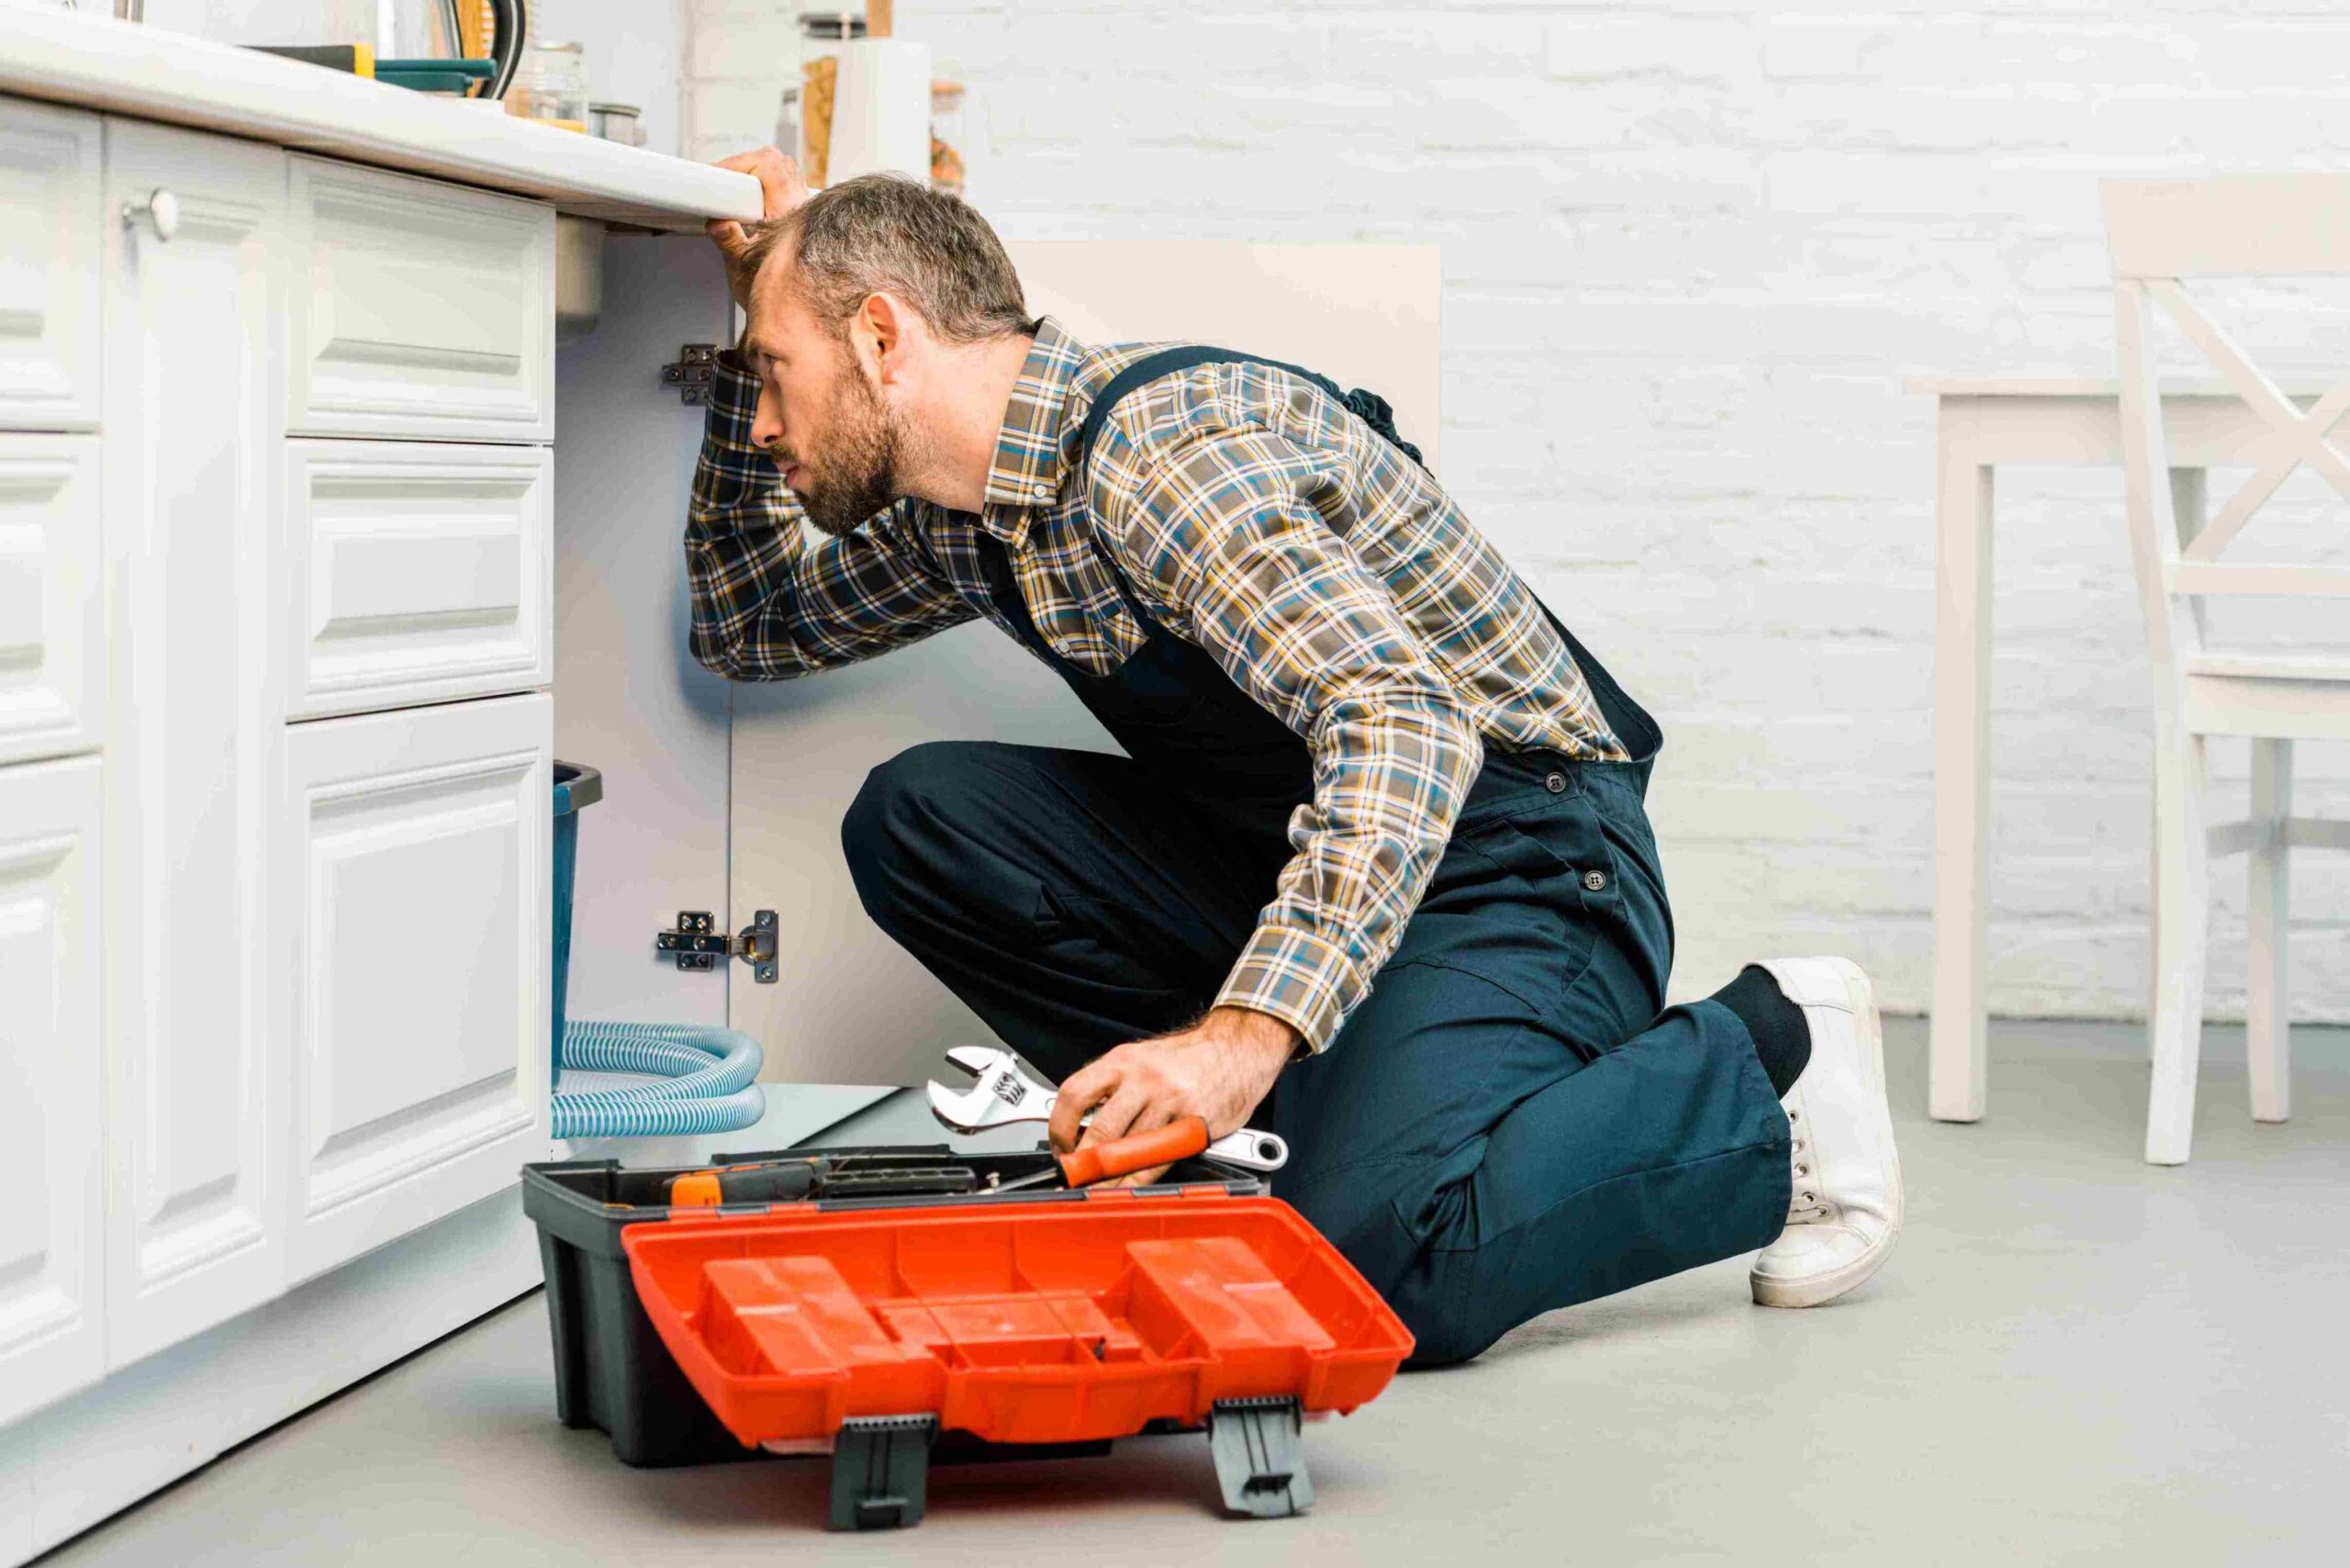
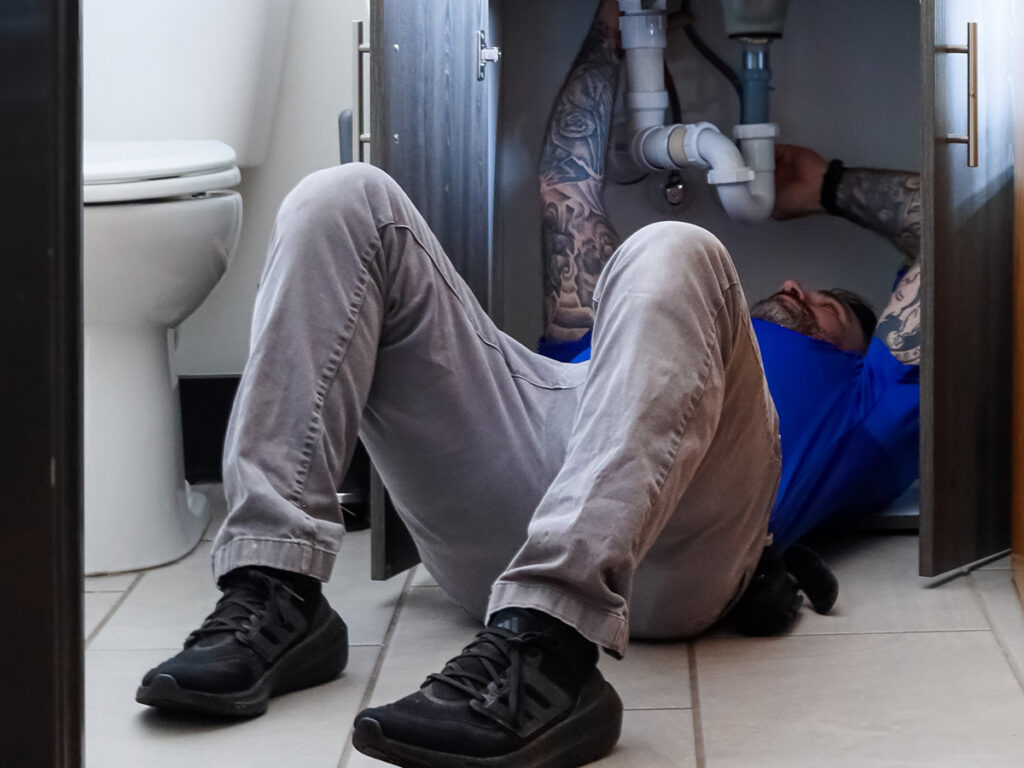
#4 Accessibility
How easy (or hard) is it to access the faucet?
If your faucet is located in a tight space, like under a sink with limited room to maneuver, it could take the plumber longer to fix the problem.
More time means higher costs, so the price could go up.
Plus, if the faucet is part of a larger plumbing system with other issues, the plumber may need to access pipes or parts that are difficult to reach.
These kinds of repairs can become more complex and costlier because of the extra effort involved.
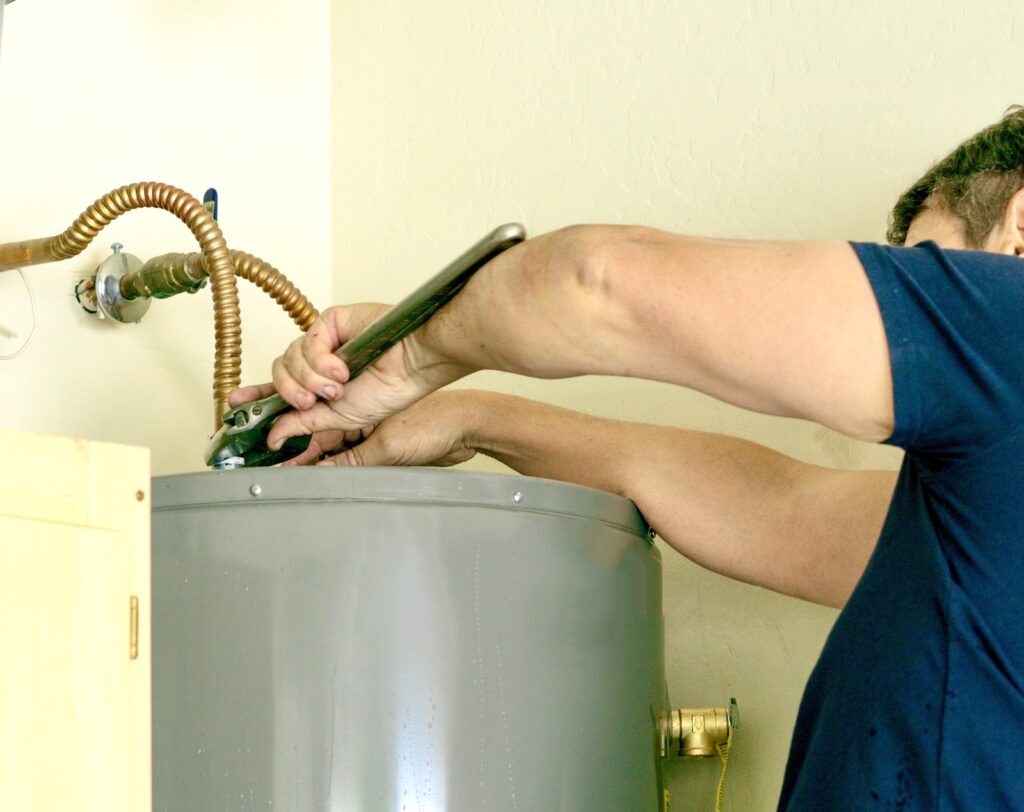
#5 Labor Rates
Labor rates can vary depending on the plumber you hire and where you live in Virginia.
Urban areas tend to have higher rates because the cost of living is higher. If you’re in a more rural area, the rates may be a bit lower.
However, be aware that plumbers often charge a service fee just to show up, which can range from $50 to $100.
It’s always a good idea to ask about any additional fees before scheduling the repair.
Plumbers also sometimes charge by the hour. Hourly rates typically range between $70 and $150 in Virginia, and it’s a good idea to get an estimate of how long the job will take.
That way, you won’t be surprised by the final bill.
Also Read: How Much Does Leak Detection Cost?
Bottom Line
Leaky faucet repairs can cost anywhere from $75 to $250, with most repairs falling in the $100 to $200 range. The price depends on factors like the type of faucet, what’s causing the leak, how easy it is to access, and the labor rates in your area.
You might also pay more for after-hours service or emergency repairs.
If you have an older, simpler faucet, the repair will likely be cheaper. But if you’ve got a high-tech, modern faucet with more parts and complications, the cost can go up.